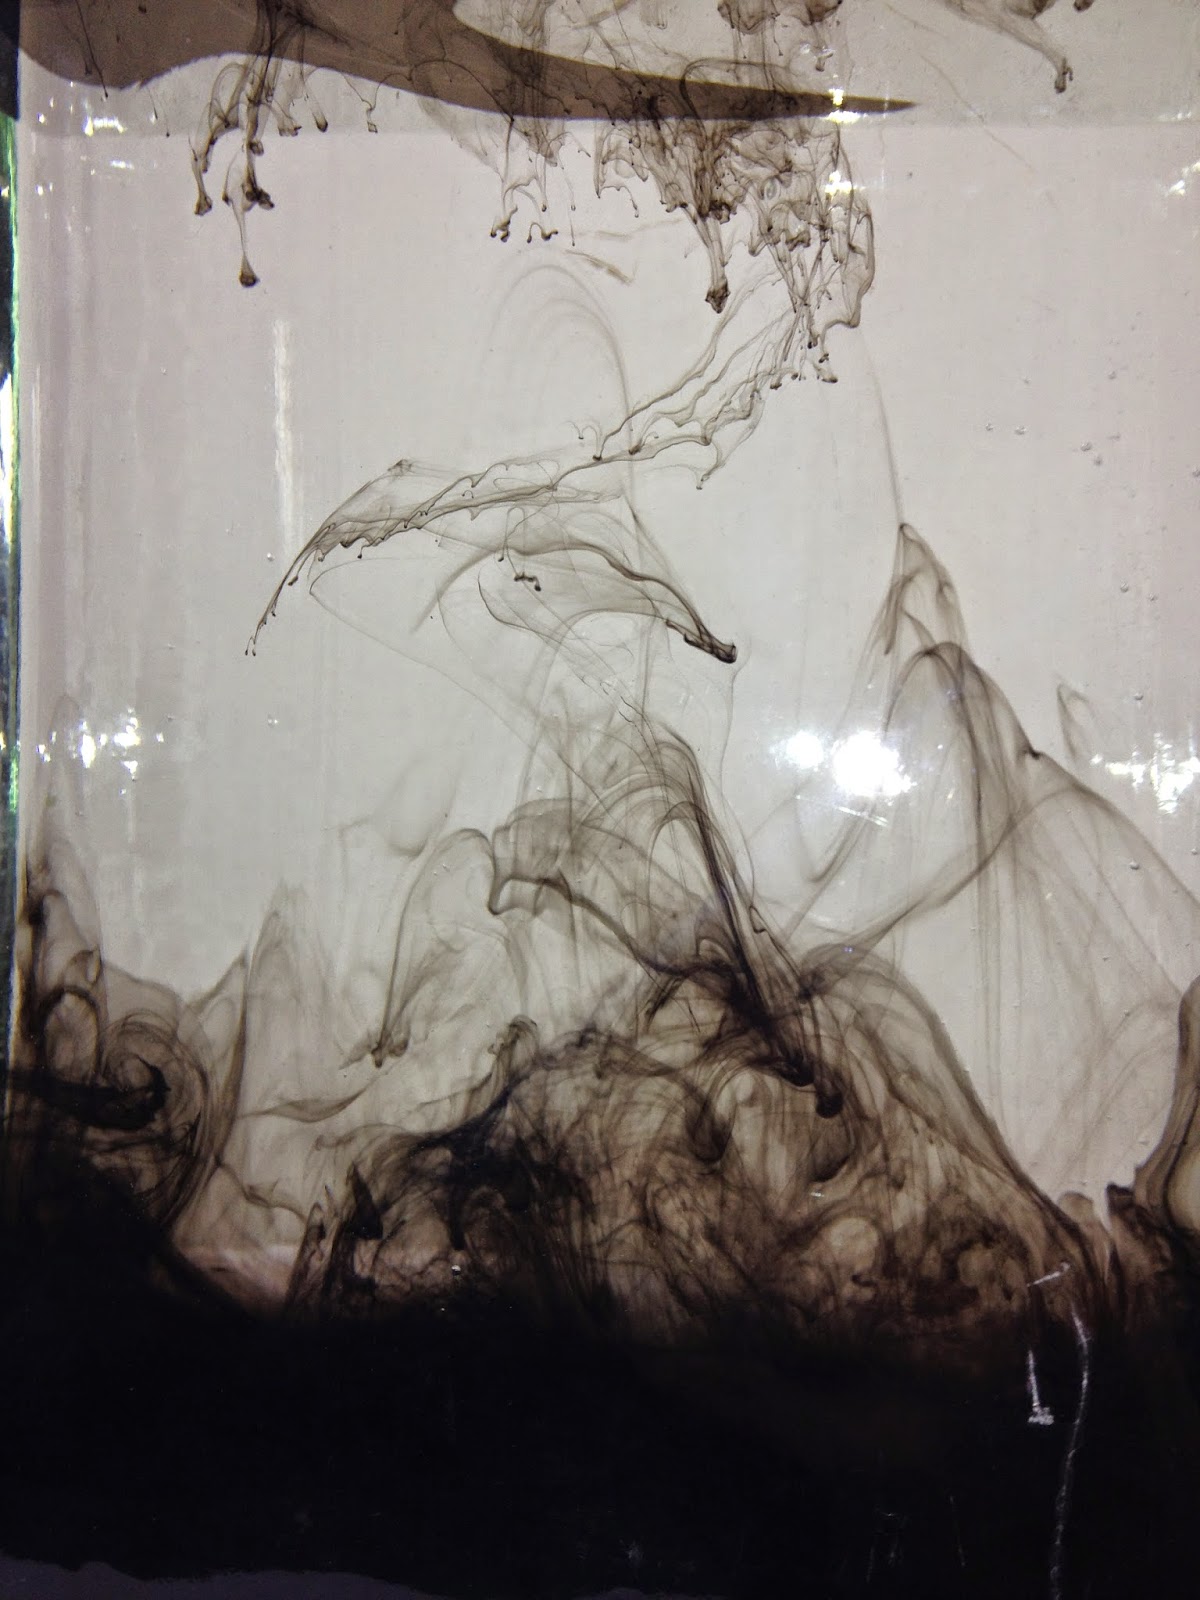
Friday, 28 November 2014

Editing First Stages

Now that I have finished the recording for my music video, I am now able to start putting the pieces together and editing the footage; and after three hours of uploading and beginning the editing I have successfully created 36 seconds of the video. 

Getting used to Final Cut Pro isn't as difficult as first thought, I was afraid that I would spend more time figuring out the software then actually editing the video. However, this hasn't been the case and the editing process has been smoother than first thought.

Here are some images from the editing process;


Thursday, 27 November 2014

Fourth Day of Production

Originally I was book a two hour set in the studio, however, I was able to capture all the missing pieces from my video within an hour. This allowed me to jump straight into editing and start piecing together all my footage - of which is over 50 + minutes worth of film.


Tuesday, 25 November 2014

Filming the Lips

When it comes to filming the lips I will do this in my own ome with the same camera I have been using for all my footage. I will place a white piece of paper behind me wih a light facing me, this way the brightness will counteract and the shoot will be lghter. 

Red lipstic will also be used to create the dark and seductive side to the Bristolian saga. As it will be done over the wekend I will be able o spend a whole day wrking on timings and positioning. I aim to have 3 -  5 different recordings of the song all together, therefore during editing I will have enough footage to work with and can use the best of the filming. 

Change to Digipak Front Pane

Upon looking at the front pane, I still wasn't happy with the shadow effect and the contrasting, Therefore, I have re - faded each image layering and the brightness/contrast. This is the rework of that; 
I will now go onto create a background and depending on how the shadow effect works on this image, I will consider whether to remove the shadow all together. 

Thursday, 20 November 2014

Third Day of Production

After my third day of production I now have 40 + minutes of footage. therefore in my editing process I am able to choose the best pieces to put forward into the video itself. Over all I have now become very confident with my filming and how all the ink and technical aspects work. It is also for this reason that I felt this session was the most successful out of the three. 


Original Images

Dolby

You are documenting your 'journey' really well here. I think your reflective comments are valuable. Just now consider the other ancillary task and the idea of sharing colours/images across all 3 products. Don't forget it's all original images too in the final product- document the images when you have taken them.

Wednesday, 19 November 2014

Colour Change to Inner Centre Pane


As I wasn't fully happy with the colour choice of the inner centre pane, I decided to play about with colouring. I therefore, went back to the original image and started from scratch, however I kept to the original orange colouring with only changing the contrast and brightness levels.

Although I prefer the new centre pane, I am still unsure of its placement and colouring. I will have to question my target audience on what they prefer if any. 

Friday, 14 November 2014

Change to Digipak Front Pane


I feel as though this layering looks better than my origonal attempt, I now need to add shading to the background and colouring, to make it have a better sense of verisilimitude. 

Digipak Front Pane beginning stages


For the front pane I wanted to overlay multiple ink captures, however as it is beginning stages I am still working on how to layer them in the most effective way. When looking at the image like this I feel I need to blend the main drop into the others more as it looks far to rigid and not flowing. 

Once I have figured that out I will then add the finishing touches of the artists name and the title of the single.


Digipak Extra Pane beginning stage

I decided to start working on the extra pane as I felt I found the perfect image for this pane. In my planning I stated I wanted to place an image of the production, therefore the audience are able to understand the creation of the video. When first doing it I found that it looked very plain and unorganised; however I edited the photo to make the contrast of the blue brighter against the background, I also faded the camera and stool slightly in order for the tank to me the key image - without causing it to look unnatural.


After doing this I then wanted to start adding in the lyrics of my key song on the single, "Angel". I again had the same problem of it looking too unprofessional and boring. I then therefore faded the text in match the lighting of the image, without loosing the text. I did this as I wanted it to flow more easily with the image, additionally this means it'll be easier on the eye for the audience. 


Following this I then still didn't feel as if the pane looked finished or professional, it is for that reason I duplicated the image, and underlayed it to the original placement, however I placed it slightly to the right, causing a blurred effect. This fits into my audiences lifestyle as it represents the Bristolian saga and what it followed.


Thursday, 13 November 2014

Digipak beginning stages

I have begin the construction of my digipak; The first pane I decided to begin work on was the inner centre. As I am still in the construction process of the music video as well, I will have to wait to capture specific images that I want on specific pains, therefore, the digipak will be completed alongside my music video in order to achieve and choose the best photos possible.

Here is the beginning stages of my digipak;


As you can see I have used the image from my first attempts at home; explaining in my digipak planning post, I stated I wanted to use this image to emphasise the contouring of the CD slot. Upon this, I created and layered Massive Attacks logo alongside their name. However, I feel as though adding the title of the single would over busy the pane and is best left out. The colouring I chose for this pane is primarily blue, however it does have deeper and lighter contrasts within it, this demonstrating that it is in fact the ink used during production. Additionally, the colour choice represents 'angels' and when questioning my target audience they stated that, blue symbolised heaven and angels. 

Digipak Template


Improvements on Research and Planning

From my feedback about my research and planning, I have now added and improved on the following;

- Ancillary planning for digipak, advert for digipak and limited edition advert. With additional inspiration that I have found and followed from existing work.
- Extra analysis of digipaks and adverts (Green Day - American Idiot and Imelda May - Mayhem)
- Added more analysis to my RMA tasks.
- Extra detail into my storyboard with timings and shot types.

Wednesday, 12 November 2014

Second Day Of Production

My second day of recording consisted of  recording extra footage like in my first shoot. However in this shoot I focused on using mainly black and purple as these are my two deep base colours. Nearing the end of my two hour shoot I decided to start working on my blue angelic colour; I decided to use this colour as the target audience feedback showed that Blue was one of the most popular colours, as they believed it symbolises angels and what they are to be. 

This shoot went very well, and the set up time was a lot quicker, therefore I was bale to spend more time filming then figuring out placements and lighting. Her is a photo of my set up during shooting; 


 During this shoot I also switch to my cylinder container as I wanted a more restricted ink flow; this was used particularly for my purple and blue ink, as I felt the larger tank overpowered the ink colouring, therefore a more concentrated tank was needed. 


Overall, this shoot was far more successful than the first as I now know fully how my camera functions, the location of the tank and stool, the brightness/distance/height of the lighting and the positioning of the camera itself. 

Friday, 7 November 2014

First Day of Production

My first day recording primarily focused around understanding the new tank and the layouts of lighting, camera, stool and back drop. Once doing this I was then able to begin shooting, these shots together added up to about 10 minutes of footage to play around with, with additional photography  for my ancillary tasks. 

The shots were similar in angle, size and focus, however I did change the colours of the ink. By the end of the shoot I did three separate drops of  Black, Yellow (Gold) and purple, I also merged some of these colours together. Therefore when layering the shots, it would be busier to match the deep base.

I will need to removed the background sound from the footage as it will be overplayed by the soundtrack, additionally, this will make it more professional and immersing. When uploading my footage to the Apple Mac, I encountered some technical difficulties; my camera was failing to connect and render my footage. After some figuring out what the inputs and outputs were doing and the specs selected for the given camera, I was able to render my footage fully without any looses. 

Here are the photographs I captured during the shoot; 


Monday, 3 November 2014

Inks


Here are the inks I will be using in my video, with the additional - White, Gold and Silver, however, if successful I aim to mix my own version of these colours, making them to be the exact colourings wanted.